Introduction
Prerequisite
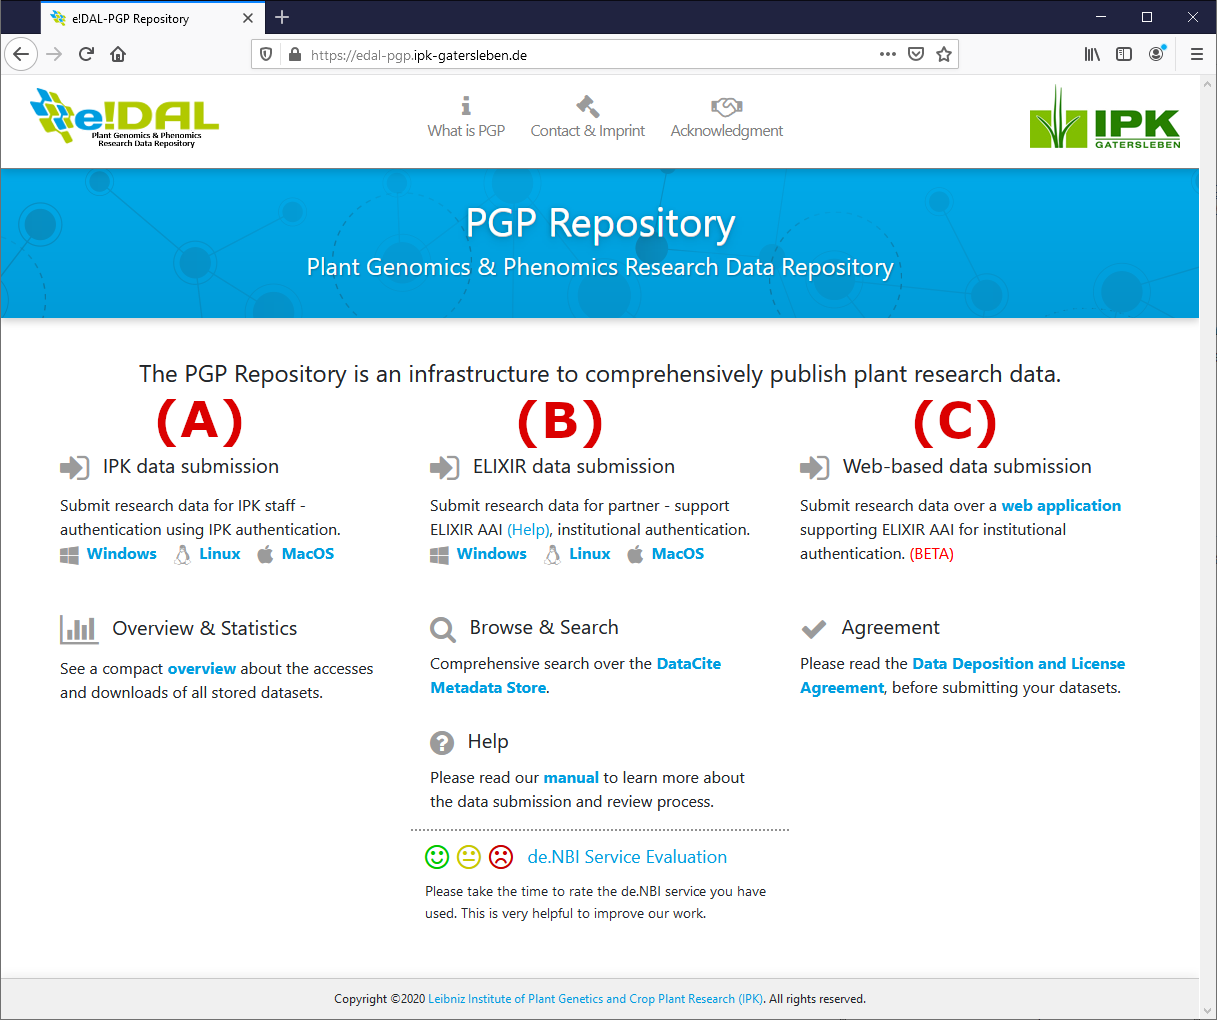
The Research Data Submission Tool for the PGP Repository is available as self-executable Java application package. Therefore its not necessary to provided a certain Java runtime. The needed runtime is already included in the executable package. Please just download the needed version depending on your operation system and your preferred login provider from the main project website (see Figure 1 A,B).
| The provides self-executable packages for the sumbimssion tool always use the internal provided java runtime regardless from your probably installed local version |
| For smaller datasets or single files you can also you the provides web-based submission tool (see Figure 1 C). The upload of comprehensive folders works only for the latest version of Mozilla Firefox and Google Chrome. Other browser support only the upload of single files. |
Data Submission
1. Download Submission Client
Choose the IPK or ELIXIR section and download the needed applicaiton depending on your OS.
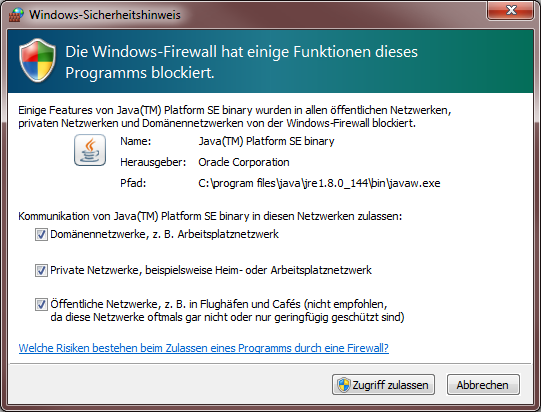
| Depending on your OS and system security settings, it is possible that you will be asked to allow the Java application to connect to the internet through your firewall (see Figure 2). It is necessary to accept this request to login via the Elixir module and authenticate yourself. |
2. Authentication & Login
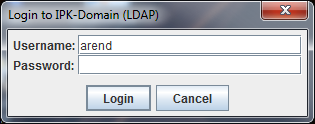
| It is only possible to login with your IPK account if you are within the local IPK network or if you are connected via VPN. |
|
|
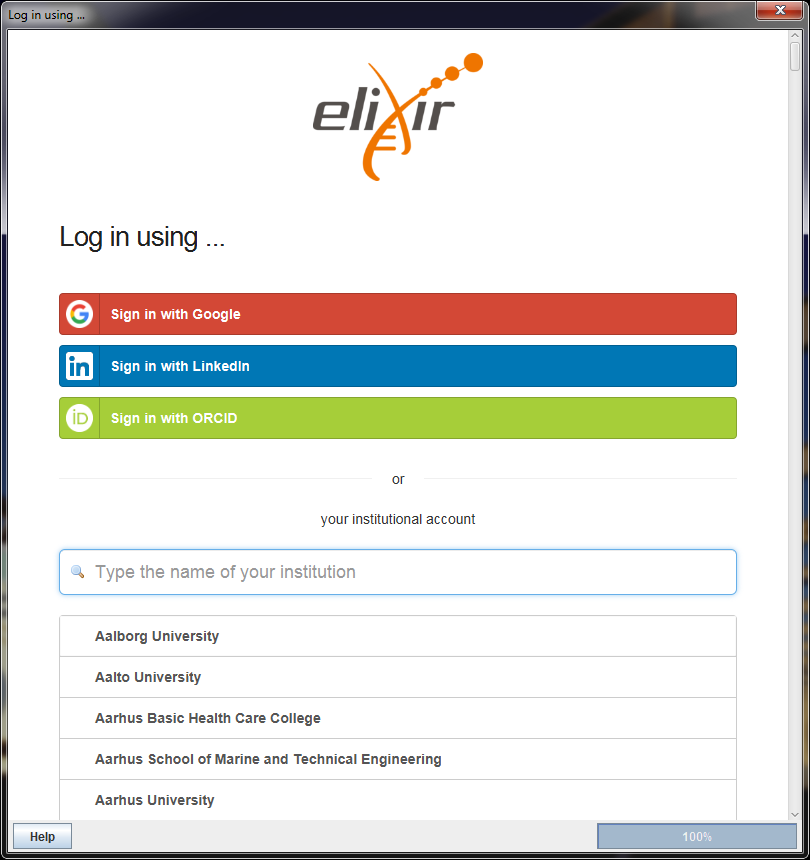
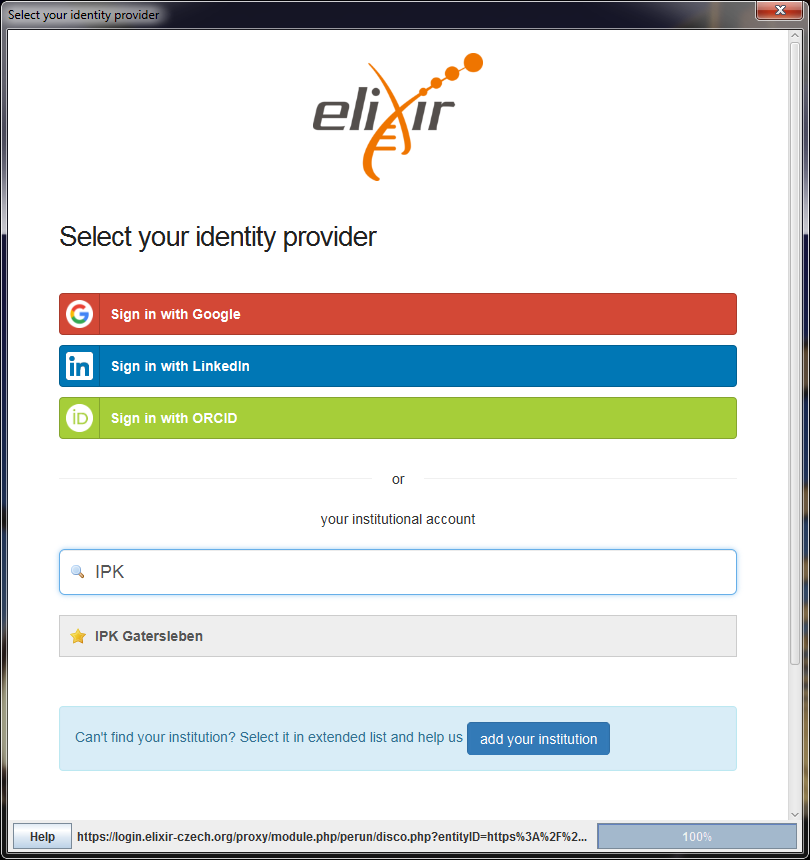
To start the actual data submision tool it is necessary to authenticate yourself using your prefered authentication provider. Beside using a third party authentication provider, it is also possible to authenticate yourself by using your existing institutional credentials. To check if your home organisation already has an ELIXIR AAI compatible identity provider, just enter the name in the search box below the buttons for the third-party login provider.
| If run the authentication process via the ELIXIR AAI the first time you will be asked to create an ELIXIR account and connect it with you prefered login modules. |
3. Data Deposition & License
Before you can start describing and uploading your data, please read the Data Deposition and License Agreement carefully. It can accessed directly within the application or downloaded as PDF document. Further the document will send to you as attachment in a confirmation e-Mail.
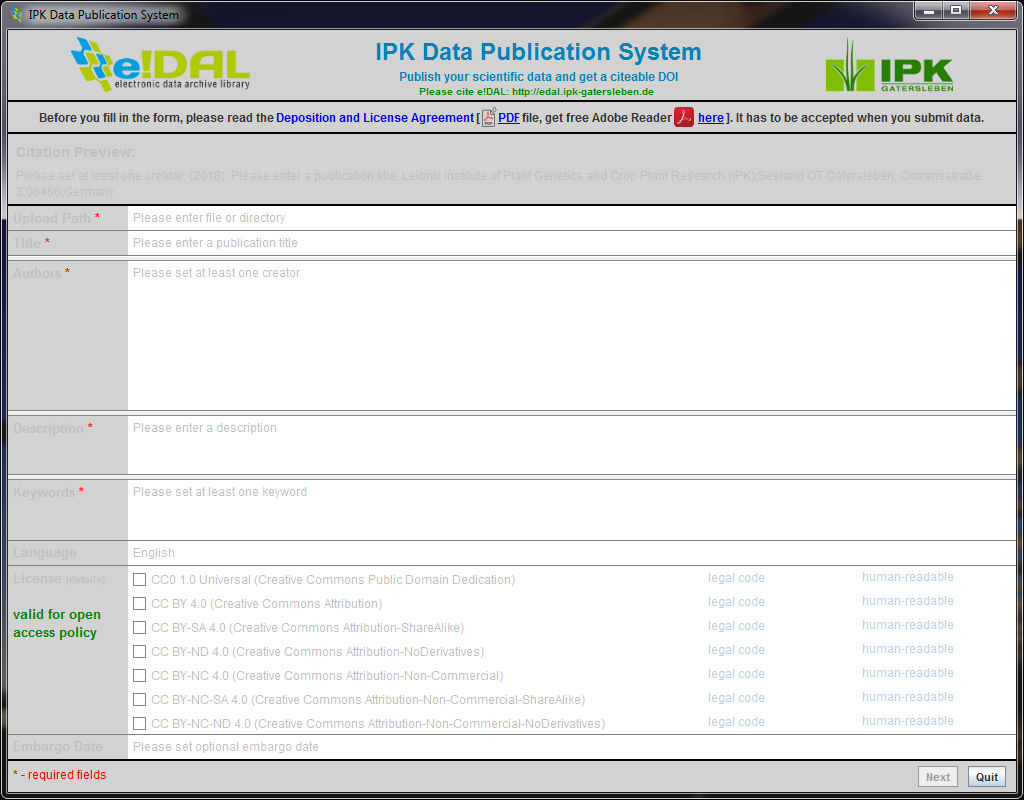
After reading the document the form will be unlocked automatically.
4. Data Selection & Description
After selecting your datasets, which you want to upload, by clicking into the first field you can use additional fields to enter all necessary information to describe your data.
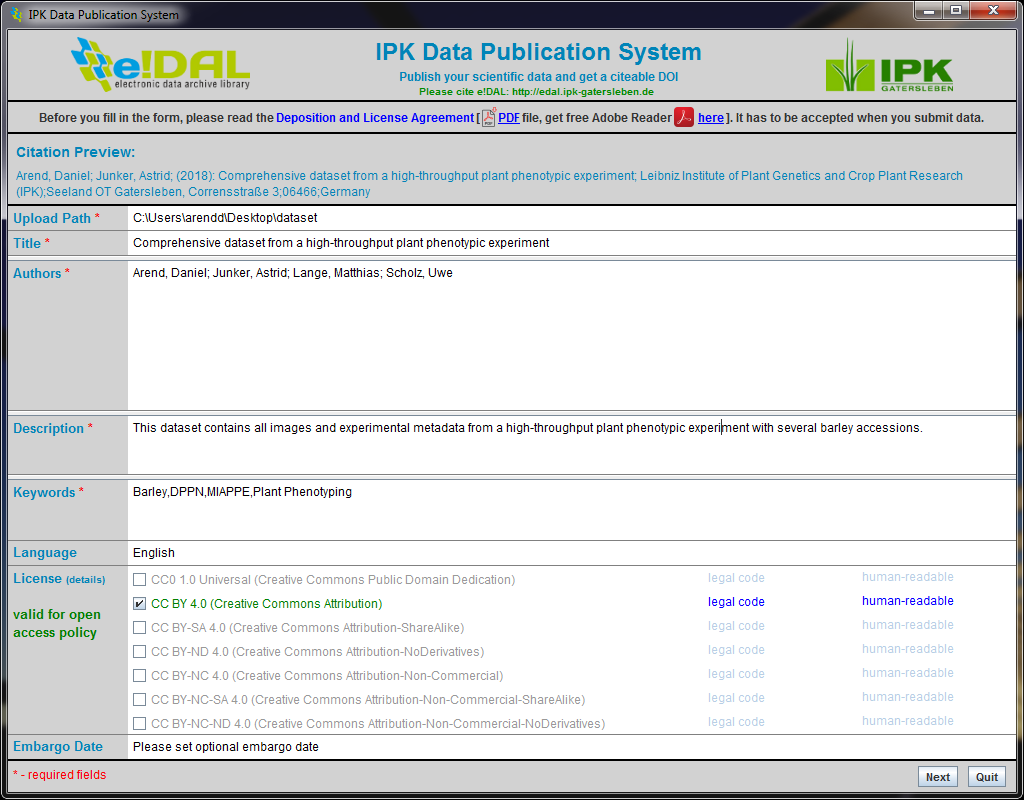
| You can select single files as well as comprehensive datasets containing subdirectories and files. It is not allowed to upload compressed files or directories, because this would prevent from navigating later through the dataset on the provided content pages for every DOI. |
When all necessary metadata are filled, you can go to the next step.
5. Agreement & Data Upload
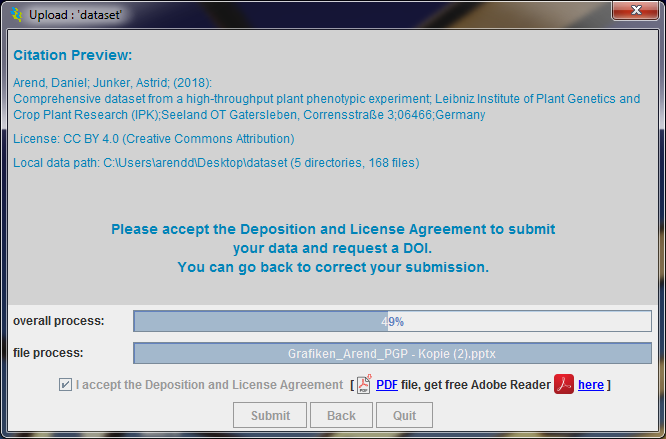
Before the actual upload process will be initiated, you finally need to accept the Deposition and License Agreement.
| Depending on the volume of your dataset and your the network connection, the upload can take a while. Please do not interrupt the process. |
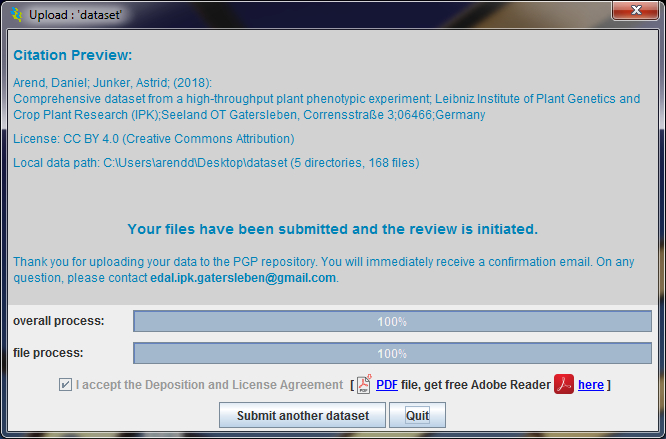
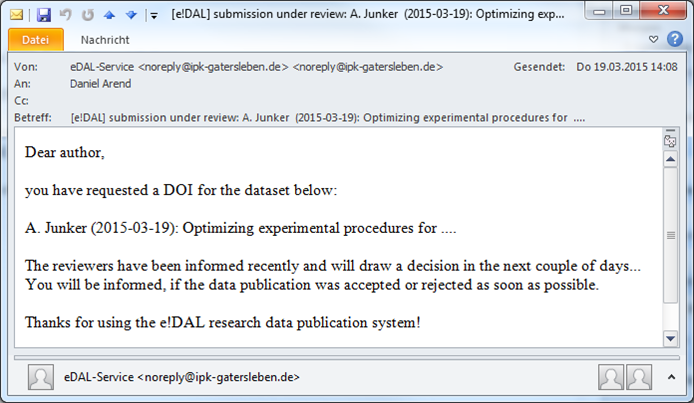
After finishing the upload process, you can submit another dataset or close the application. You will receive a confirmation if that your request is under review via e-Mail.
6. Data Review
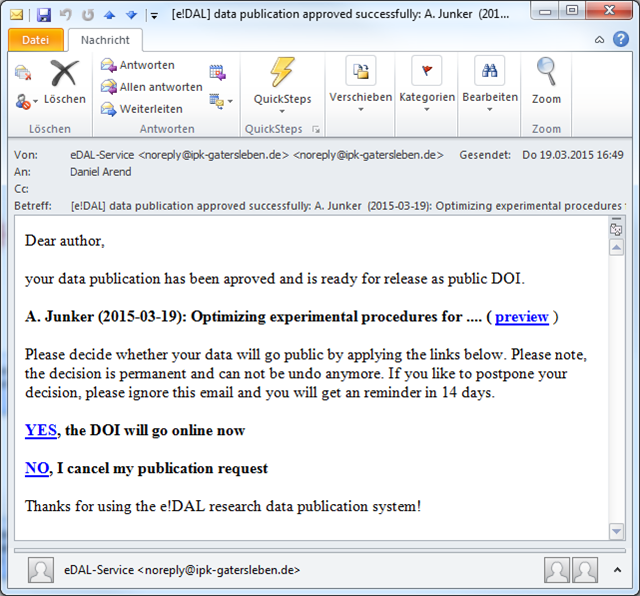
When the review of your submission was successful, you will receive an the acceptance notification with a temporal preview link to the content pages of your data as well as a link to assign the final DOI or to reject the request.
| The linked preview content page is identical to the later final DOI content page. Please use this URL only for internal communication e.g. with the editors and reviewers of the research paper that should referring your data. At this point you can still makes changes. If you assigned the DOI, it is fixed and unchangeable! When it is necessary to change the uploaded data, then just reject the submission and initiate a new submission. |
| If your data is part of a research article, please do not forget to assign the final DOI at the end, when working on the pages proofs. Do not publish your article using the temporal preview link ! |
7. DOI Assigning
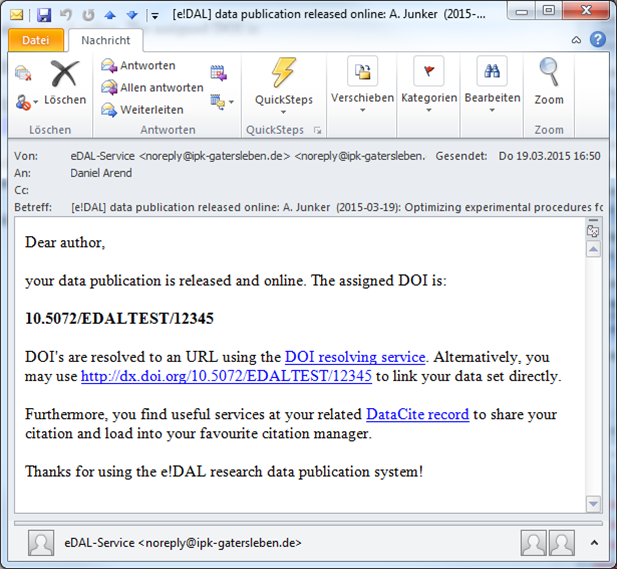
When you confirm the DOI assignment you will receive a final e-Mail with your DOI, which should be worldwide resolvable within the next five minutes.
| If you were satisfied with our service, please give credit and cite e!DAL: Arend et al.: e!DAL-a framework to store, share and publish research data. BMC Bioinformatics 15(214), 2014. |
Troubleshooting
Mac OS security settings
| If you using Mac OS depending on your version it is possible that you will receive a warning that the app you try to start is not downloaded fromn the App Store. This is just becaue of the strict Mac system security settings. If you want to start the publication tool anyway, just allow the execution in your security settings |
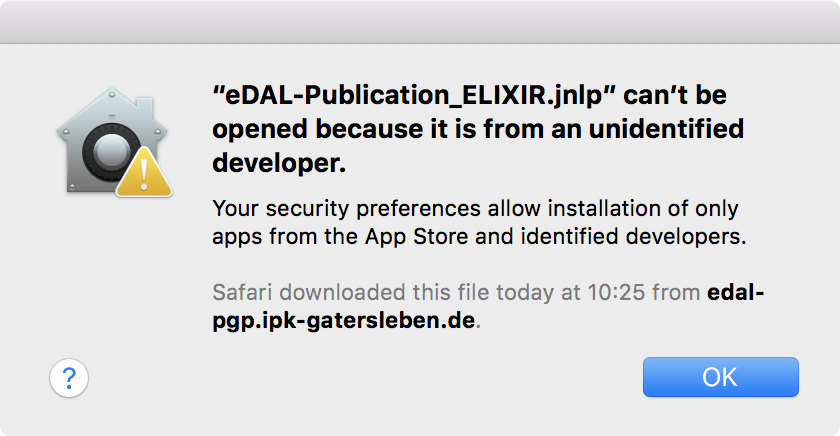
First of all just confirm that the application was blocked. The Mac OS will in background add the possibility to ignore this to you security configuration.
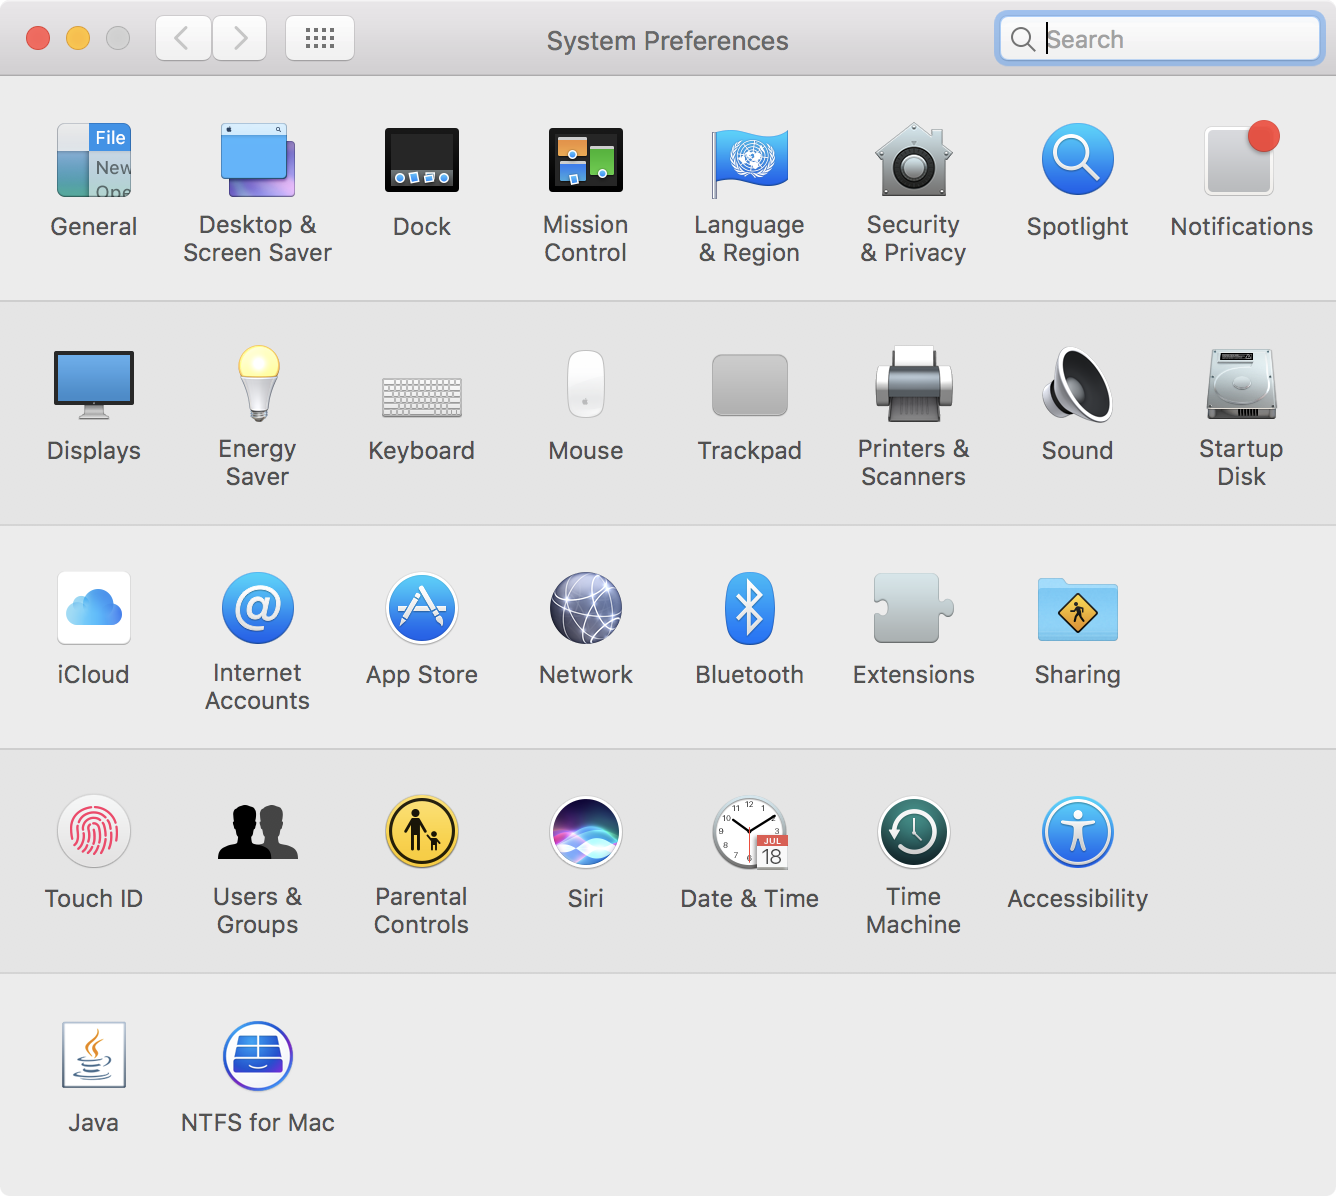
Just open the 'System Preferences'.
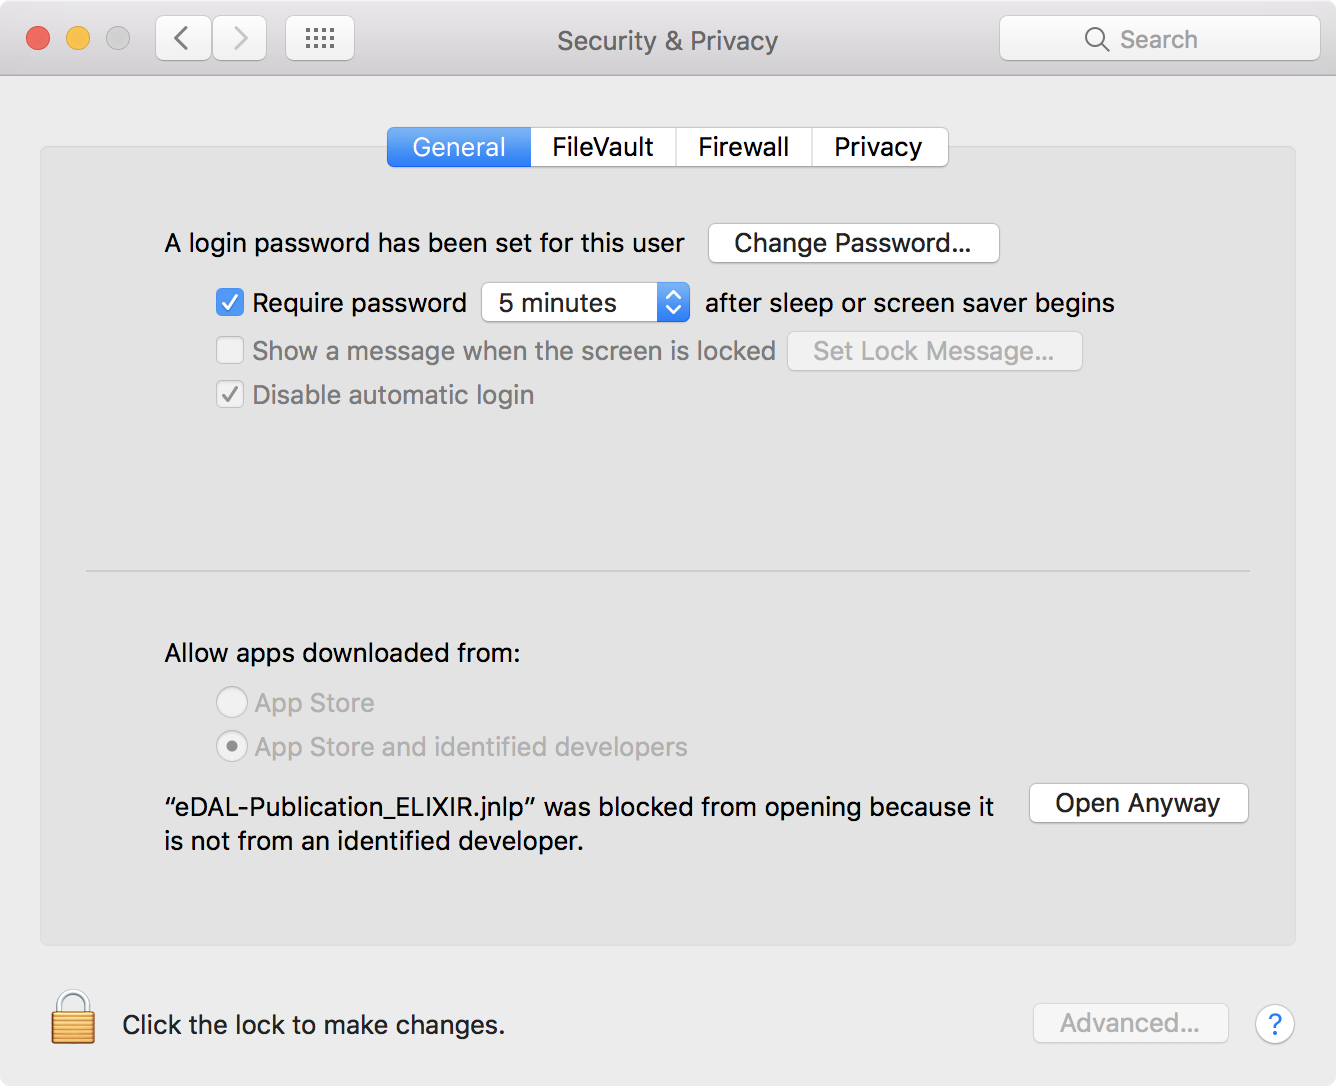
Go the the 'Security & Privacy' menu and open the 'General' tab. Confirm that you want to open the apllication anyway by clicking on the 'Open Anyway' button at the end of the page.

Then you can start the Java Webstart applicaiton again and now you allow to run the publication tool.
Proxy Settings
| Publication tool for the PGP repository already provides an embedded and powerful function to automatically detect the correct network and proxy configuration to establish a connection to the embedded services like DataCite or ORCID. |
If you have problem to load the Webstart application or if some functions of the publication tool (e.g. the ORCID search) are blocked or do not work correct, then please check you network connection and verify that your proxy settings are correct.
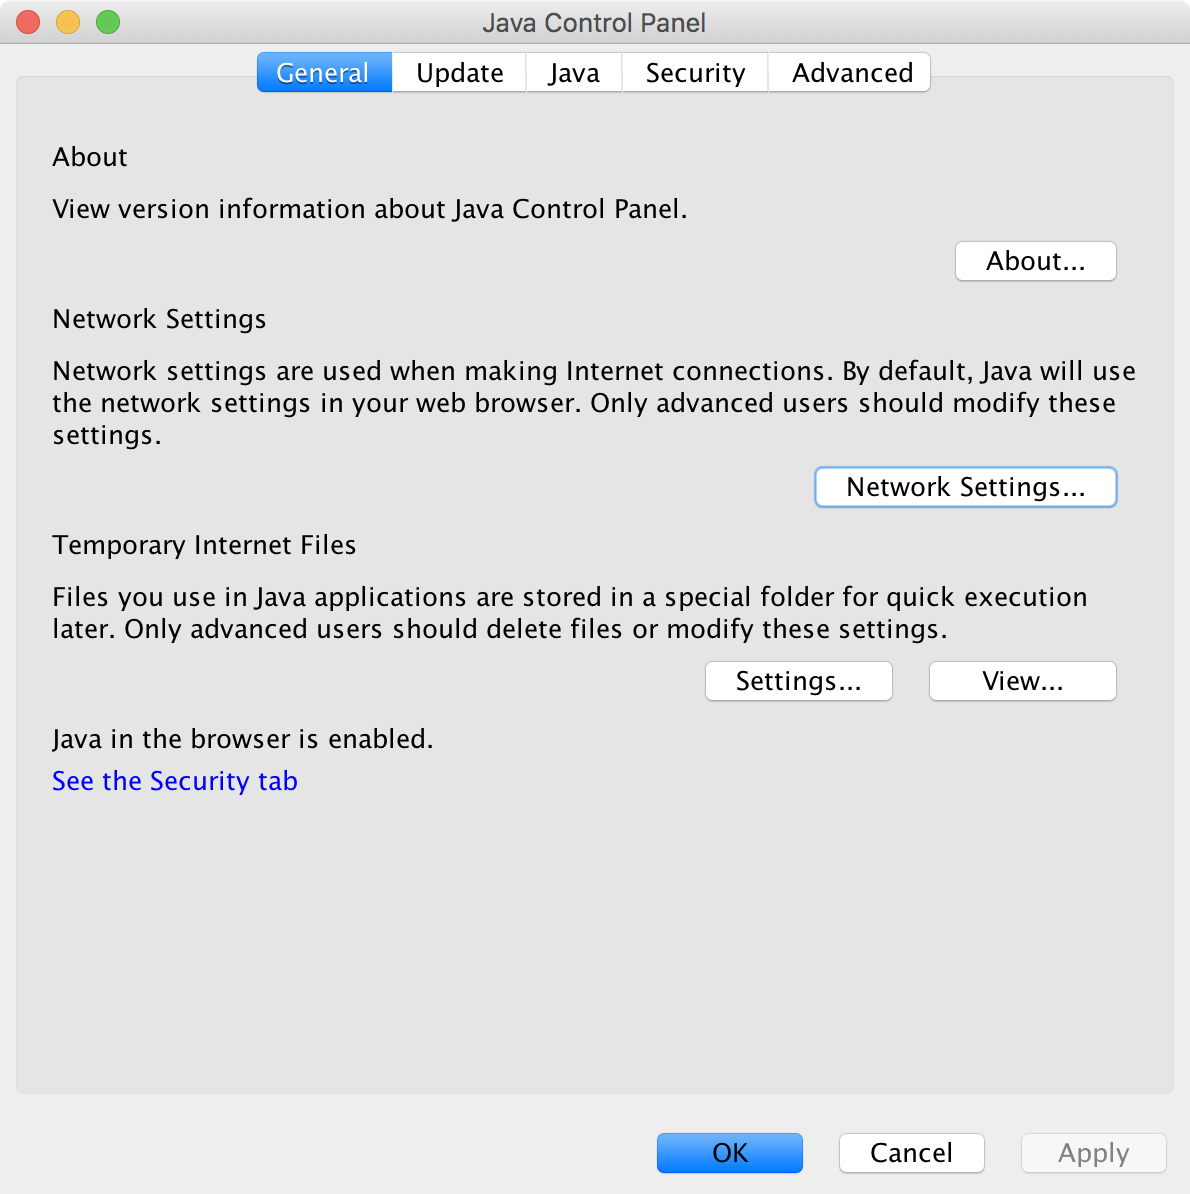
Additonally it is maybe necessary that you also define the proxy settings in the Java Control Panel, which can be found in your 'System Preferences' or startet via terminal:
$ javaws -viewer